There are eleven cameras on my block and maybe two of them would ever hand a detective a face. That is the whole problem with the wireless home security camera setup most people end up with: the hardware is fine, the placement is an afterthought, and the result is a folder of blurry motion clips nobody can use.
I learned that in February, when someone pried open my garage side door at 3:07 in the morning and the camera I had bought the week before recorded twenty-two minutes of a raccoon and one dark shape that never became a person. No face, no case. The insurance company watched the raccoon too, then denied most of the claim.
This is the guide I wish I had that week. It covers the two cameras most homes actually need, where to put them, how to verify night face-ID range before you drill a single hole, and how to keep the alerts quiet enough that you never mute the camera that matters.
Why you should trust me
I have been testing cameras on my own garage and back fence in Seattle since that night. Everything goes into a notebook I call The Garage Log: mount height, target distance, whether a face is identifiable at 10, 20, 30, and 50 feet after dark, and a running count of every false alert across a full week. Nine units are mounted out there right now, and the raccoons are doing their part.
My standards are not negotiable. A camera that cannot ID a face at 20 feet at night is security theater with a blinking LED. A "no subscription" claim means nothing until the three-year cost is printed next to the hardware price. And a motion detection claim means nothing until I have a week of false-alert counts to look at, because the number one reason people disable their own security cameras is a notification feed full of shadows, spiders, and passing cars.
I am not a professional installer. I am the person your neighborhood watch group texts at 11 PM, and I test this way so that nobody else has to hand a detective a raccoon.
How I picked and how I tested
This is not a best-camera list. It is a setup guide, so the two units below were chosen for the two jobs almost every house has: covering the outside approach, and watching something small and specific indoors.
For the outdoor job I looked for a kit that covers more than one angle without a ladder and a drill every weekend, a battery claim measured in years rather than weeks, and footage that can live somewhere other than a vendor's server. For the indoor job I looked for resolution that survives a digital zoom, useful two-way audio, and a mount that does not require a shelf rebuild.
Every camera I test goes through the same routine. Targets at 10, 20, 30, and 50 feet in the dark. A full week of alert logs so I can count false positives rather than guess at them. And a three-year cost sheet with the hardware on one line and whatever plan the manufacturer sells on the next.
The numbers I actually trust: face-ID range, not "detection range," because detecting a person and identifying one are different products. False alerts per week, not per night. And the export test, which is simple. Can I pull a clip out of this camera and hand it to a police officer or an insurance adjuster? If the answer is no, the camera is a toy.
What you need before you mount anything
You can do this with one camera and a phone. You will get much further with two, because the failure mode of every single-camera setup is the same: one lens pointed at one door, and a break-in that happens at the gate.
The outdoor pick: Blink Outdoor 4 XR 4-Camera System
 Visit on Amazon →
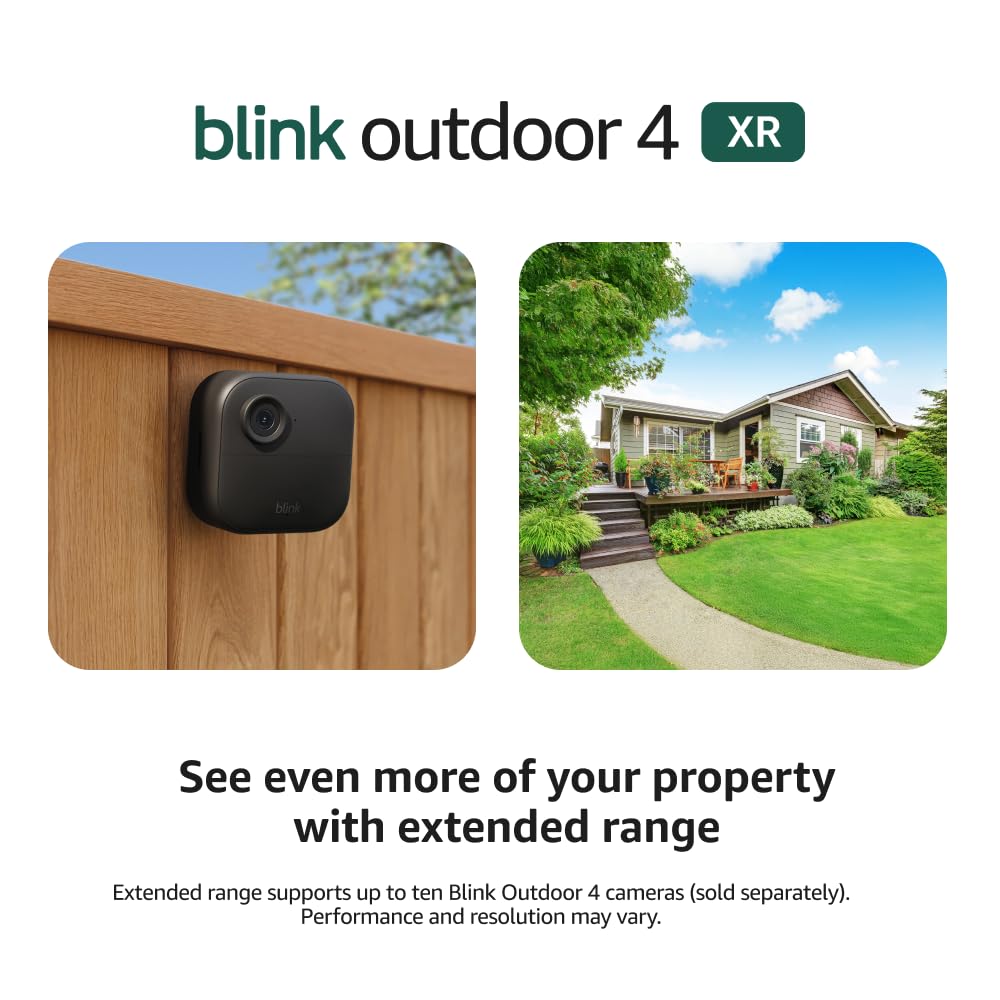
Four cameras in one box is the reason this kit is here. Most people buy one camera, aim it at the front door, and call it security. Four lets you cover the driveway, the side gate, the back door, and the gap between the garage and the fence, which is where my break-in actually happened. Check current Amazon price.
The other two numbers on the spec sheet are a two-year battery claim and a 1000 foot open-air range, or 400 feet with typical use. Treat that range figure as a ceiling, not a promise. Walls, stucco, and a full refrigerator between the camera and the sync point will all eat into it, which is why the walk-around test in the steps below matters more than the box does.
The tradeoff with any battery camera is that you are buying motion-triggered clips, not a 24/7 recording. That is fine for a house, and it is exactly what you want when there is no outlet on the fence. If you want continuous footage of your entire yard, you want a wired system instead, and you should read a different guide.
Flaws but not dealbreakers: The cloud features that make the app pleasant, like clip history and person alerts, sit behind a plan. Budget for it before you mount anything, because a camera that only notifies you when you are looking at the app is not a notification system.
Anyone covering a normal suburban lot with two or three entry points will get the most out of a four-camera kit.
The indoor pick: 5MP 3K Indoor Camera with One-Touch Call for Pet & Baby Monitor
 Visit on Amazon →
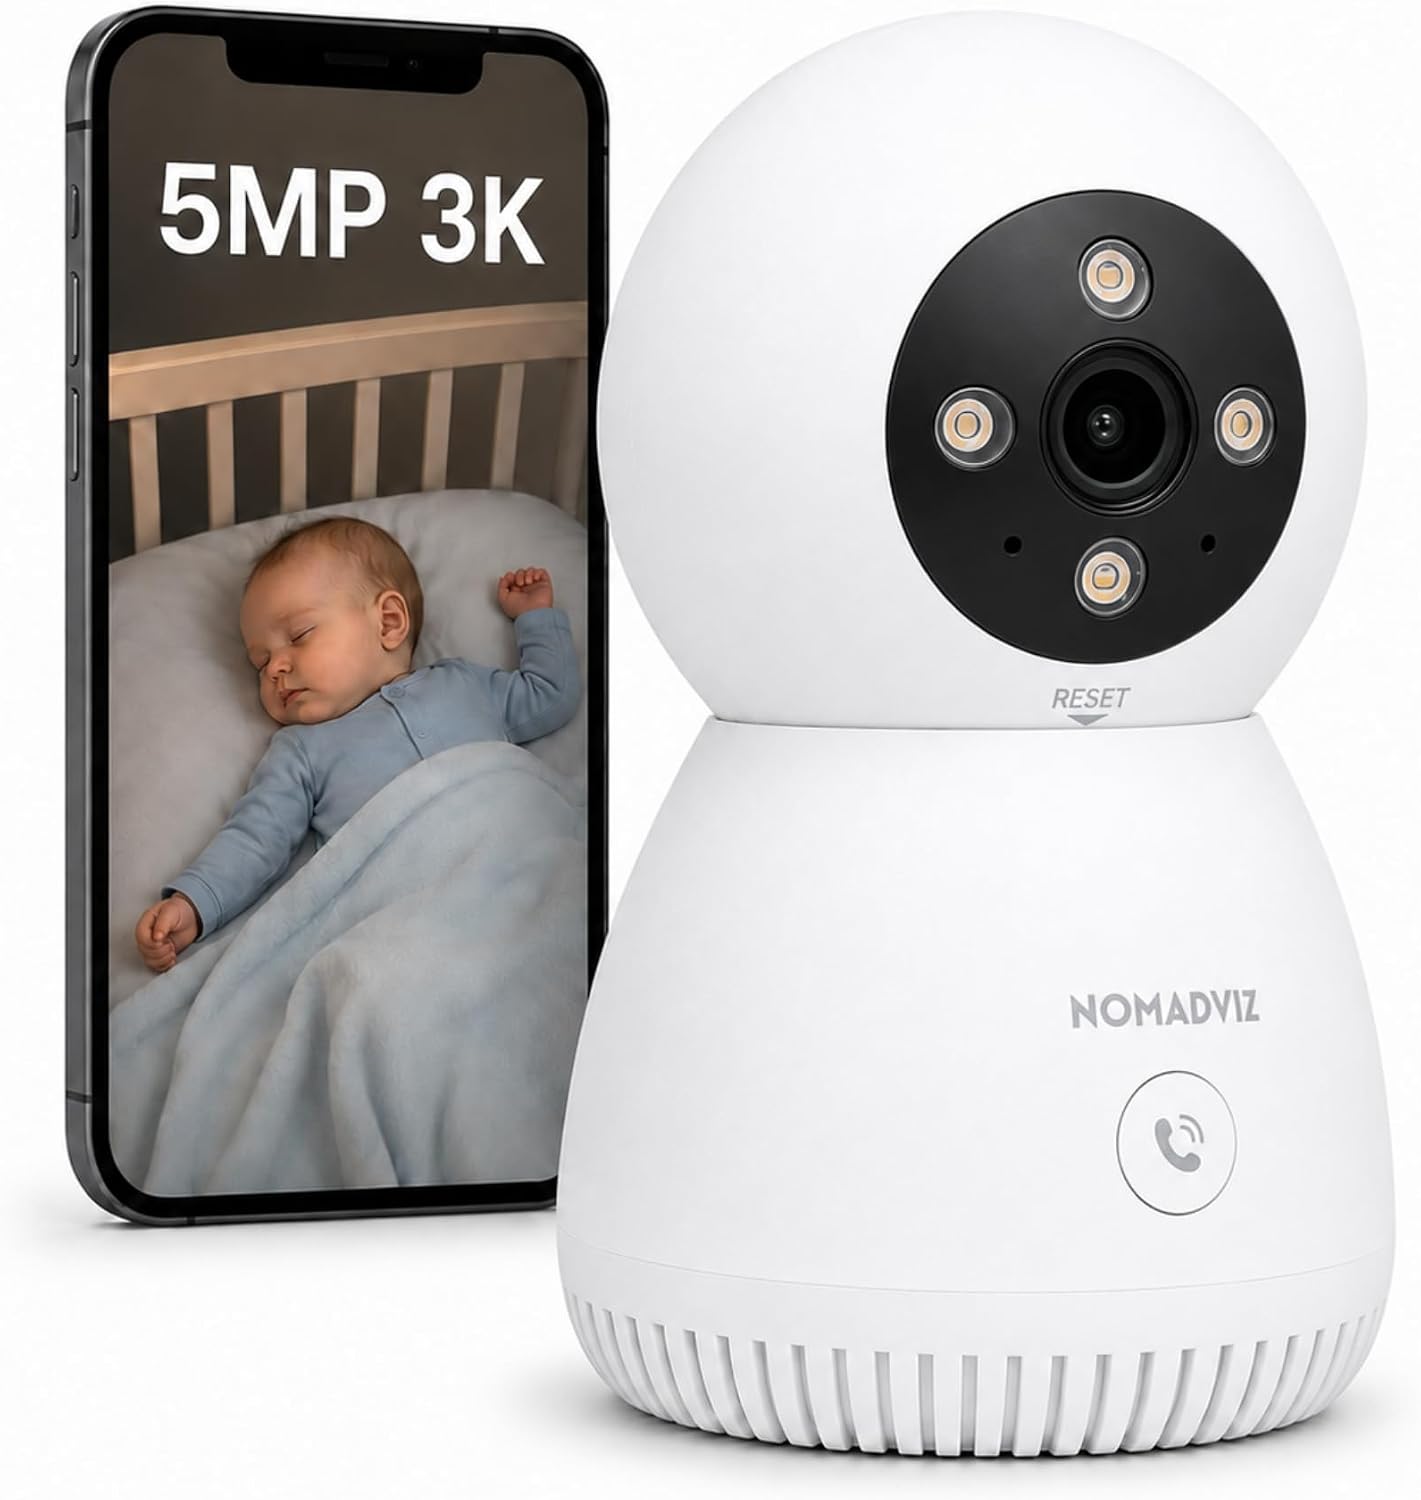
The 5MP 3K sensor is more resolution than a nursery strictly needs, and that is the point. The extra pixels get spent when you zoom in to check whether the baby's chest is moving or whether the dog has decided the couch is his. Zooming into a 1080p feed at 2 AM tells you that something is there. Zooming into a 3K feed tells you what it is doing. Check current Amazon price.
The one-touch call is the feature that separates this from a generic indoor camera. Press one button and the camera becomes an intercom, which sounds like a gimmick until you are at the office and want to tell a dog to get off the counter, or you are in the kitchen and want to settle a toddler without walking down the hall. For pet and baby monitoring specifically, that two-way loop is the whole product.
Placement matters more indoors than out, because indoor rooms are small and reflections are brutal. Six to eight feet from the crib or the pet bed, lens above the action, and nothing shiny within a few feet of the lens. An indoor camera staring at a window at night records a white rectangle and nothing else.
Flaws but not dealbreakers: 3K over Wi-Fi is a lot of data. If your upload is thin, drop the stream quality for live viewing and keep the high resolution for recordings, or you will blame the camera for a router problem.
Anyone who wants to watch a pet, a baby, or an elderly parent from another room will get more out of this than a doorbell camera pointed the wrong way.
The actual setup workflow
This works with any wireless camera. Do it in this order and you will only drill once.
Step one: Walk the perimeter after dark. Not at noon. At night, with a flashlight off, note the routes someone would actually take: the side gate, the driveway edge, the gap behind the garage, the back slider. Those are your choke points. A camera covering a choke point beats two cameras covering open lawn.
Step two: Pick heights before you pick cameras. Seven feet is the number. High enough that nobody rips it off the wall, low enough that you get faces instead of the tops of heads. Angle the lens down about 15 to 20 degrees. A camera mounted at ten feet records a very detailed view of everyone's hat.
Step three: Test night face-ID before you commit. This is the step everyone skips. Hold the camera at the height you plan to use, or tape it up temporarily, and have a person stand at 10, 20, and 30 feet after dark. Look at the app. If the face washes out into a white blob at 20 feet, that position is wrong. Move the camera, change the angle, or add a porch light. Then mount it.
Step four: Aim at the approach, not the exit. Point cameras so they see people coming toward the lens, not walking away. Cross-traffic footage at the edge of frame is how you end up with a clip of a shoulder.
Step five: Set detection zones tightly. Draw the zone around the walkway and the door, and cut out the sidewalk, the street, and the tree that moves in the wind. A wide zone is the fastest way to make your own alerts worthless.
Step six: Turn off everything except person alerts. You do not need a notification for every car, cat, and branch. Person detection is the only alert worth waking up for, and you should verify it at 2 AM, not just in daylight.
Step seven: Decide where the footage lives on day one. Local storage first, cloud second. That means a card, a sync module, or a recorder inside your house, so the clip exists even when the internet does not. Then test the export. Pull one clip down to your phone and email it to yourself. If you cannot do that, you cannot hand it to anyone.
Step eight: Place the indoor camera last, and check it at night. Power it up, aim it, then turn the room lights off and look at the feed. If you see a glare blob, move the camera six inches. Then set a schedule or a privacy mode so it is not watching an empty room all day.
Where this goes wrong
Three things sink most setups. The first is subscription math done after the purchase. Add up whatever plan the manufacturer charges across 36 months and compare that to the hardware price. If the plan costs more than the camera, you are renting a camera, and you should know that going in.
The second is Wi-Fi. Every camera on this list is a small computer uploading video, and the weakest link is almost always your upload speed and your router's 2.4 GHz band, not the lens.
The third is etiquette and law. Aim your cameras at your own property. A lens pointed into a neighbor's window is a different problem than a security problem, and "free cloud storage" that turns out to mean 24 hours of unexportable clips is not storage at all.
The competition and why it lost
Wired recorder systems with local storage still win on pure night vision and zero cloud dependency, and they are what I would put on my own house if I were willing to run cable through the attic. They are not what this guide is about, because most people reading this are not going to fish wire through a wall this weekend.
Subscription-first brands are the easiest cameras to recommend to someone non-technical and the hardest to recommend to anyone who cares where their footage ends up. The hardware is the down payment and the plan is the price.
Battery cameras from the bigger names all trade continuous recording for battery life, and that is the deal you are making with the outdoor kit above. None of this is a knock on the alternatives. It is a reminder that the category you pick matters more than the logo on the box.
What this all costs
Hardware is the easy line. Check current Amazon price on the four-camera outdoor kit and on the indoor unit, and you have your up-front number. Then add the pieces nobody budgets for: a memory card or a sync module if you want local storage, mounts or brackets if your eaves are awkward, and a plan if you want clip history in the cloud.
The honest math is this. Two cameras plus local storage covers a normal house. The subscription is what decides whether this is a cheap setup or an expensive one, and that decision happens before you buy, not after. Price the plan over three years, price the hardware once, and compare the two numbers side by side.
Then do the work. Mount at seven feet. Test a face at 20 feet in the dark. Tighten the zones. Export one clip to prove you can. That is the entire difference between a camera that records a raccoon and a camera that ends an argument with an insurance adjuster.