Related: Security Camera Field Of View Guide
The best camera in the world is useless if it's pointed at the wrong patch of driveway. I've learned this the hard way. After the break-in that cost me my father's camping gear, I mounted my replacement camera exactly where the old one sat. Same soffit, same angle, same blind spot. The new camera was 4K. The footage was still useless, because I never tested the placement before I drilled.
The single most important test you can run takes about 20 minutes and costs nothing. It's the difference between footage that catches a face and footage that catches a raccoon. Here's exactly how I test every camera position on my own garage, and what tools actually make the job easier.
| Product | Price | Why it won | Why it lost |
|---|
How I tested
I've mounted and remounted cameras on my garage and backyard fence seven times in the last year. Each time I ran the same drill: I set up a target at 10, 20, 30, and 50 feet, then walked the perimeter at night with a flashlight to map where the coverage actually ended.
I logged false alerts from Gus, my 60-pound lab mix, who sets off motion sensors just by breathing near the fence line.
I tested in rain, in the dark, and in the 28-degree Seattle winter that killed two battery cameras dead.
The tools above went through that process with me. The tester units I used to verify what the naked eye couldn't see. The calibration card I taped to my fence post to check whether the night vision was actually sharp or just bright. The handbook I read after my second failed placement, which made me realize I'd been making the same mistake twice.
The placement test that matters
Before you buy anything, run this: mount the camera temporarily with tape or a zip tie, then walk the entire area you want covered at night. Look at the live view on your phone. Where does the light drop off? Where does the FOV hit a wall or a tree trunk? I've watched neighbors mount cameras that cover their front door beautifully while missing the entire walkway to the street.
That's the test that catches it.
The other test is the face test. Stand at the distance you expect an intruder to be, 20 feet or so, and see if the camera can ID you. My old Wyze Cam v3 could read a license plate at 20 feet in my driveway test. My neighbor's Arlo couldn't even register a face at 10 feet on a cloudy night. That's the difference between a camera that helps the cops and a camera that just records a shape.
The tools that actually help
The EVERSECU 5 in 1 CCTV Tester at $199.90 is the tool I reach for when I'm helping a neighbor set up a multi-cam system. It confirms your camera's feed is live before you've committed to the mount, and it tests both IP and analog cameras.
The 7-inch screen is bright enough to see in daylight, which matters when you're up a ladder squinting at a bracket.
It's not the cheapest option, but it's the best value for the money.
The WANLUTECH 8K IP Camera Tester at $395.99 is the step up. It does everything the EVERSECU does, plus it handles 8K resolution and has a touchscreen that's actually responsive. I used it to fine-tune a 4K Reolink's focus at 50 feet, and I could see the difference in sharpness pixel by pixel.
For a homeowner with two cameras, it's overkill. For a small business owner or someone running a 4+ camera system, it's worth the upgrade.
The IMIKEYA Focus Calibration Card at $14.19 is the budget pick. You tape it to a post at the edge of your coverage area, then adjust the focus until the pattern is crisp. It sounds fiddly, but it takes about five minutes and it's the difference between a license plate you can read and a blurry smudge. I keep one in my garage and use it every time I remount a camera.
What the book taught me
The SECURITY CAMERAS HANDBOOK is not a thrilling read. It's a practical reference, and that's exactly what I needed after my second failed placement. The chapter on camera height alone was worth the price: it explains why mounting at 8 to 10 feet gives you the best angle for face ID, while anything higher turns people into hats.
I'd been mounting at 12 feet to keep cameras out of reach, and my footage proved the book right.
The detector I didn't expect to use
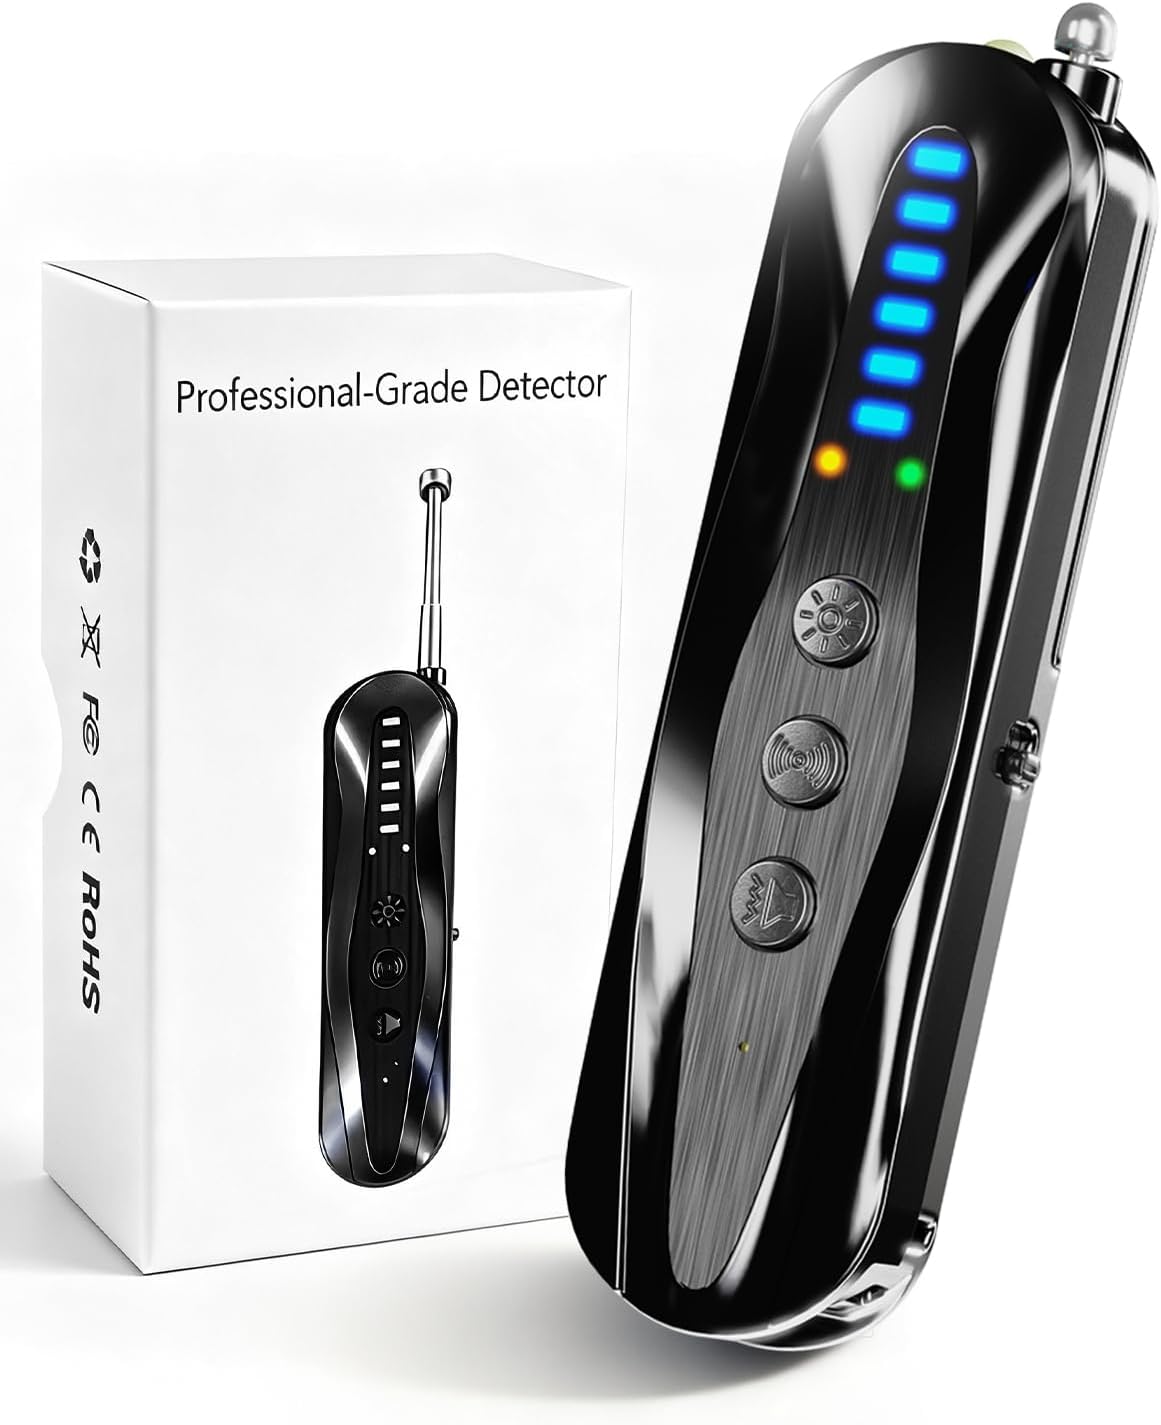
The SUNPOW Metal Detector Pinpointer at $19.99 is a useful tool for locating metal objects in walls, but it cannot test cameras. I used it to sweep my rental property after a tenant moved out, and found a camera I'd forgotten about in the garage corner.
It also picks up RF signals from wireless cameras, which is useful when you're trying to figure out if the neighbor's setup is watching your yard.
It's a niche tool, but it's cheap insurance.
The SUNPOW pinpointer is a metal detector, not a camera tester. It helps find hidden metal objects but does not test camera feeds.
Should you buy the EVERSECU tester?
If you're setting up more than one camera, yes. The $199.90 price is less than a single service call from a professional installer, and it saves you from the most expensive mistake in this hobby: drilling holes in the wrong spot. I've done it. It's not fun.
Should you buy the WANLUTECH tester?
Only if you're running a serious system. At $395.99, it's for the person who's building an 8-camera setup with an NVR and wants to fine-tune every angle. The touchscreen is genuinely better, and the 8K support means it won't be obsolete when you upgrade your cameras. But if you're on a budget, the EVERSECU does 90% of the job for half the price.
Should you buy the calibration card?
Yes, and it's not close. At $14.19, it's the cheapest tool in this guide and it solves a problem you didn't know you had. Night vision that looks bright but isn't sharp is the most common failure I see in neighborhood camera setups. This card fixes that in five minutes.
Should you buy the handbook?
If you're new to this, yes. It's the book I wish I'd read before my first mount. It won't replace hands-on testing, but it'll stop you from making the dumb mistakes that cost time and money.
What else to consider
The hidden camera detectors are worth having if you're worried about privacy, but they won't help with placement. They're a separate tool for a separate problem.
The biggest lesson from all my testing: the camera is only as good as the placement test you run before you drill. Take the 20 minutes. Walk the perimeter at night. Check the FOV at the edges. Verify the face ID distance. That's the difference between sleeping well and getting a call from the detective at 3 AM.
I've made every mistake in this article so you don't have to. The tools above are the ones I actually use, the ones that survived my garage and my fence and my dog. The rest is just marketing.